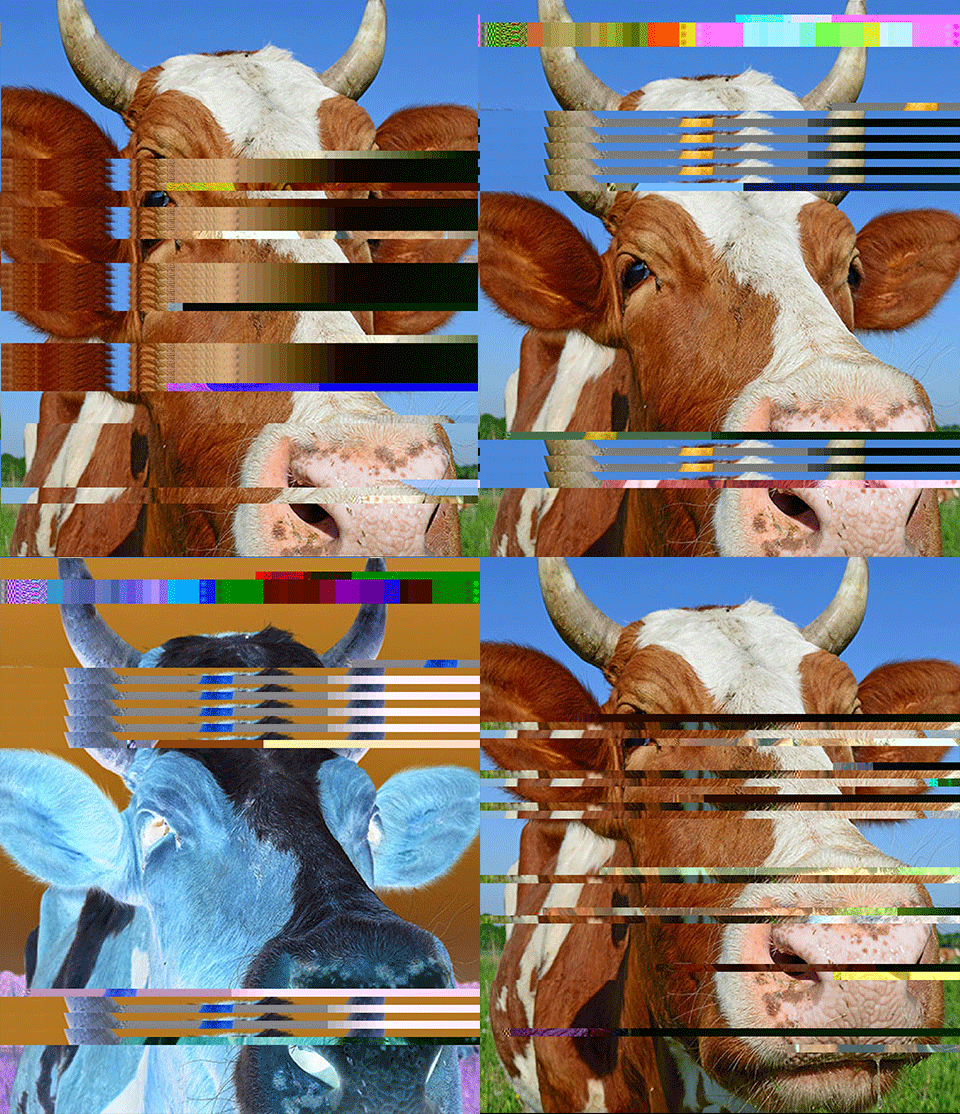
Databending and Glitching
Every image we see on a computer screen is created by a set of instructions or “code” embedded in the file and hidden from view – until now.
For this exercise we’ll take a peek at the coding in a Jpeg file. We’ll then tinker with this code by cutting pieces out and adding other bits in. This process will corrupt the file and “glitch” the image.
This is also a fun way to introduce you to the concept of “coding” and the sometimes disastrous things that can happen when code is corrupted. This process also ads an element of chance to tyour creative process - we won’t know how the final image will look until the we feel process is finished.
Corrupting the code on Jpeg files with the Text Editor:
Open a Google Chrome browser and follow links below (or find your own). Save a copy of each image on your desktop by placing the cursor over the image - right click/save image as/(rename the image)/desktop. Make sure the format box is set to JPEG image and click SAVE.
Once you’ve got an image saved as a Jpeg duplicate the file 6 times or so.
Open the file with “Preview” by double clicking it the thumbbail on your desktop. Now, open it again with the Apple Text Editor - right click/open with/other/TextEdit)
You should be looking at 2 versions of the file – a picture and page of code.
Now lets corrupt the code. Avoid altering the header (first part) and footer (last part) of the code too much – but go ahead and take a big chunk out of the middle part – then “save” the text file and click the jpeg to refresh it. Cut, paste, rearrange the code until you see something you like –It might take a while – but something will eventually happen.
One you’ve corrupted the file to your liking; take a screen shot of the image by pressing Shift-comand-4 (at the same time) then select the image.
Repeat the process with another images.
Once you have 3 to 6 screenshot images, bring them into Photoshop and make then into a GIF!


